Printable poker hand strength chart: Rules for quick reference

Why a printable poker hand strength chart speeds up your decisions
You want to make faster, more consistent choices at the poker table, whether you’re playing live or online. A printable poker hand strength chart gives you a visual shortcut: it reduces complex probabilities into a readable layout so you can evaluate starting hands, post-flop ranges, and quick odds without doing math under pressure. When you rely on a chart correctly, you remove guesswork and focus on position, pot size, and opponent tendencies.
Think of the chart as a training wheel: it guides early decisions until your instincts and experience internalize the patterns. It’s especially helpful if you’re learning hand selection, practicing preflop range construction, or developing a consistent quick-reference routine during multi-table play where time is limited.
How to read a hand strength chart at a glance
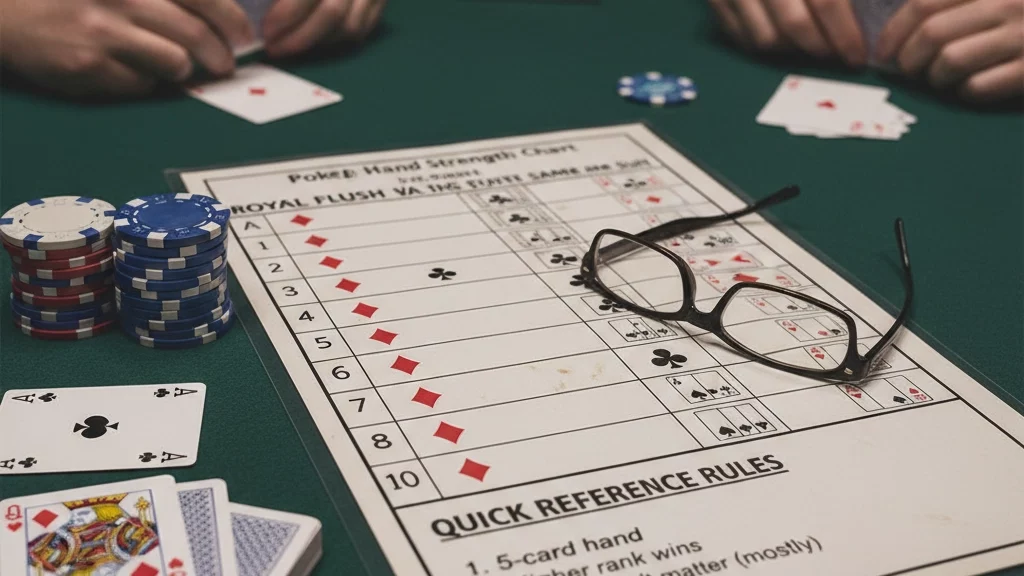
Charts come in different formats — grid for preflop starting hands, lists for draw strengths, or simple tiered rankings. You’ll usually see hands grouped by strength tiers (premium, strong, playable, speculative, and fold). Learn these quick visual cues so you can scan and act within seconds:
- Colors and symbols: Colors typically map to action categories (raise, call, fold). If your printable uses symbols instead, match them to the legend before you start playing.
- Suited vs offsuit: Charts often separate suited and offsuit hands. Suited connectors and high suited combinations rise in value because of flush and straight potential.
- Position markers: Some charts indicate which hands are playable from early, middle, or late position. Use these markers to modify your action based on where you’re sitting.
- Percentage or frequency cues: Advanced charts include how often to include a hand in your range (e.g., 30% of hands). For quick reference, focus on the categorical guidance first.
Before you rely on any chart, give it a quick test in low-stakes play or practice sessions. Confirm that its definitions of “playable” and “speculative” match your table style and bankroll tolerance.
Practical, fast rules to use with your printable chart
Pair the chart with simple rules you can apply instantly. These will help you translate the printed guidance into clear table actions:
- Position-first rule: If the chart marks a hand as playable only in late position, fold it from early position unless you have a strong table read.
- Stack-awareness rule: Short stacks change hand values — speculative hands lose value when effective stacks are shallow, so tighten up.
- Opponents-adjust rule: Move a hand up or down a tier if opponents are extremely passive or aggressive; charts assume average opposition.
- Pot-odds check: Use the chart to pick hands, then ask yourself whether pot odds make a call sensible after the flop — the chart doesn’t replace situational math.
- Table-consistency rule: Stick to chart guidance for several orbit cycles to gather reliable reads before deviating widely.
These rules turn chart guidance into reliable habits you’ll use under time pressure. In the next section, you’ll see a printable chart layout and step-by-step examples that show these rules in action at the table.
Printable chart layout: what to include on a single page
Design a one-page chart that gives the essential cues at a single glance. Keep the layout simple and consistent so you can read it in seconds:
- 13×13 starting-hand grid: Rows and columns for ranks (AA down to 22, suited/offsuit separated) is the standard for preflop reference. Color-code cells by action (raise, call, fold) and add a tiny legend explaining colors.
- Position strip: A narrow bar or column that shows which hands change by position (early, middle, late, blinds). Use icons (E, M, L, B) or small colored dots so you don’t have to read text under pressure.
- Frequency/percentage column: For advanced charts, include recommended inclusion frequency (e.g., 30%, 60%) or a suggested raise percentage for certain hands. If that’s too crowded, show only “open” vs “3-bet” tiers.
- Quick-draw legend: A short panel listing common post-flop draw strengths and their rough odds (flush draw, open-ender, gutshot) so you can convert the preflop choice into an immediate post-flop checklist.
- Size and print tips: Keep the font legible at reading distance (12–14 pt body, bolder for headers). Print on sturdy card stock and laminate if you plan to reuse it. Create a wallet-sized foldable version for live play and a full-sheet for your home practice board.
- Accessibility: Use colorblind-friendly palettes or add patterns/symbols in addition to color so the chart works under varied lighting or for color-impaired vision.
Step-by-step examples using the chart at the table
Below are quick examples that show how to apply the chart plus the simple rules from earlier. Each example demonstrates a one- or two-step thought process you can run through in seconds.
Example 1 — Early position, AKo, unopened: Scan the grid: AKo is in the premium/raise zone. Rule application: position-first (early) still allows open-raise with a premium. Action: raise 3–4x the big blind. If you face a 3-bet, use opponents-adjust — tighten vs a very aggressive 3-bettor, consider 4-bet or fold vs a tag (tight) player depending on stack depth.
Example 2 — Middle position, 7♠6♠, unopened: Chart label: speculative/playable primarily in late position. Rule application: position-first says fold from middle unless table is very passive and stacks are deep. If you were in late position the chart invites a small open to steal; facing an early raise while deep, call only if villain is very tight and you expect to get paid when you hit — otherwise fold.
Example 3 — Late position with 15bb, J♣9♣, facing a shove: Chart guidance: J9s is speculative but becomes marginal with a short stack. Rule application: stack-awareness rule downgrades it — you have limited implied odds and less fold equity. Action: fold to a shove from a competent shover; consider shove yourself only as a final action when folded to you and you need to take initiative to survive.
Use the included draw legend when the flop comes: flush draw (~9 outs ≈ 35% to hit by river), open-ender (~8 outs ≈ 31% to hit by river), gutshot (~4 outs ≈ 17% to hit by river). These quick figures help decide whether a call is justified by pot odds after you consult the chart.
Final notes and next steps
Take the printable chart into hands-on use quickly: print a clean copy, laminate one for live sessions, and keep a wallet-sized fold for quick reference. Treat the chart as a decision aid, not a rigid rulebook — adjust it as you learn opponents’ tendencies and as your stack dynamics change. If you want ready-made templates and printable options to adapt, check out CardsChat printable charts and tools.
Practice with short drills: review 20 hands from a recent session and mark where your choices matched the chart, then tweak the chart or your approach where you consistently deviate. Over time the chart will move from a reference into an intuitive shortcut that speeds your in-game reads and actions.
Frequently Asked Questions
How should I use the chart differently in early vs late position?
Use position as a primary filter: tighten your open-raising range in early position and widen it in late position for steals and speculative hands. The chart’s position strip highlights which hands are profitable to open from each seat — when in doubt, defer to the narrower early-range guidance to avoid marginal spots.
Can I adjust the chart for short-stack or deep-stack play?
Yes. Apply the stack-awareness rule: shorten your calling and speculative ranges when short-stacked (less implied odds) and expand them when deep-stacked (more implied odds). Mark or color-code alternate ranges on your printable chart to reflect different stack-depth thresholds so the adjustment is quick and visible.
What’s the fastest way to get comfortable using the chart during real games?
Start with low-stakes sessions or online play where you can pause between hands. Run focused drills (e.g., 50 hands, only follow the chart decisions) and compare results. Also practice quick mental checklists—position, hand tier, stack size, opponent type—so consulting the chart becomes a two- or three-second habit at the table.